Magical Forest
INTRODUCTION TO NATURAL ENVIRONMENTS IN UNREAL 5
This page shows the end result of my introductory study on building real-time natural environments during the “Intro to Unreal 5” course I did with Clinton Crumpler in the Winter 2022 term at CGMA. Besides learning the workflow for building complex Nanite assets from scratch, my main goal was to learn how to build and light a believable forest environment in Unreal 5 using existing assets from the Quixel Megascans library.
CHALLENGE
Early 2022 I had the opportunity to do a new course by Clinton Crumpler on the highly anticipated Unreal Engine 5, which was still in Early Access at the time. The course’s overarching assignment was to build a diorama or small scene during a 6-week period, while being introduced to and practicing with techniques newly introduced in Unreal 5, like Nanite and Lumen.
I decided to build a small secluded ancient forest environment with volumetric lighting, and focus mostly on set dressing and lighting. This posed a few extra challenges though, due to the limitations with rendering foliage, displacement and landscapes in the Early Access version of Unreal 5. But since I had seen a few really good examples of forest environments done in UE5 EA, I was confident to find a solution for these extra challenges along the way.
REFERENCE aND BLOCKOUT
The first step was researching how I imagined a small secluded forest environment and organizing my references in a reference board. The Magical Forest concept I decided to move forward with, was inspired by the popular film location Puzzlewood in the Forest of Dean, Gloucestershire, England. It’s an ancient woodland site with strange rock formations, secret caves and ancient trees, with a confusing maze of paths and some evidence of mining. Besides Puzzlewood, I was also inspired by the amazing real-time environment art by Pasquale Scionti, Willi Hammes and Jonjo Hemmens.
Reference Board
Next, I sketched out the basic shapes in a blockout scene in Maya, all in real world scale. A blockout or greybox model is meant to design the environment while keeping assets as simple as possible. It’s also helpful for making decisions on texturing, starting experiments with camera positions and basic lighting directions, and for spotting potential issues that you might run into in a later stage. It is very important to try to keep the amount of unique assets to a minimum, which can save a lot of time in creating or gathering assets in the production stage.
With the blockout scene in Maya complete, I recomposed the blockout scene in Unreal using desired asset groupings, pivots and proper naming conventions. With such an asset pipeline, individual meshes can simply be reimported from Maya after each iteration, or be replaced by other existing assets (imported via Quixel Bridge for example).
Blockout Scene
SCENE BUILD
I started the scene build with looking for useable Nanite assets in the Quixel Megascans library, and tried to replace my blockout models one by one. I focused on the rocks and trees first. For the trees I used the Early Access version of the Megascans Trees pack containing 22 unique Black Alder tree assets, and several other tree stumps and logs from the library. Initially I only placed the foreground trees, saplings and seedlings by hand, and reshaped some of them to match the blockout. To create the rock formations, I kitbashed 21 instances of a huge Megascans rock asset together into 2 big shapes.
An important issue I encountered with the Megascans assets, is that all Nanite assets seemed to default to 8K textures, whether it’s a huge rock or a relatively small tree stump. This caused clearly noticeable texel density differences when I placed them besides each other. The solution I found for this is to replace the master material for all Megascans assets and add an option to layer a tileable detail texture on top of the unique texture provided with the asset. More on this below in the ‘Master Materials’ section.
For the landscape I decided to use a hybrid approach. For the area closer to camera I stacked together numerous instances of a selection of mossy embankments, rocks and forest floor assets (Nanite as well of course), which blended together surprisingly well. For the area further away from camera, I was lucky that the Early Access 2 release was just in time for me to use a normal landscape actor. I first sculpted the shape of the landscape to merge perfectly with all of the Nanite assets I had already placed, and then created a layered landscape master material to improve the blending between Megascans assets and the landscape. More on this below in the ‘Master Materials’ section.
The steps for the staircase in the back were built with a single Nanite asset, that I created to practice Clinton’s workflow for creating Nanite assets from scratch. In short this workflow entails modeling the blockout shape in Maya, sculpting and decimating the asset in Zbrush, creating uv’s (with the desired texel density) in RizomUV, baking normals, id’s and ambient occlusion in Marmoset Toolbag and finally texturing the asset in Substance Painter.
The initial scene build was finished with painting in the remaining foliage. More trees were added in the background, various types of ferns and grasses were painted on the forest floor and some mushrooms, flowers and ferns were hand placed at ‘strategic’ positions. An issue I ran into with Megascans plant assets, is that they appeared quite ‘flat’ by default (most noticeable in the subsurface color) causing them to not blend very well with the environment at first. To solve this I made some adjustments to the Megascans Foliage master material to push the normal map intensity and add some contrast to the translucency.
Scene Overview
Nanite Visualization for the many Nanite assets stacked closely together
MASTER MATERIALS
The major challenge of using assets from the Megascans library (or any other source for that matter) is making everything in the environment blend together nicely. A clever and efficient way to do this is through the use of custom master materials.
For the Megascans assets, I started by creating a custom master material with the basic features for color correction (saturation, brightness, tint and contrast), adjusting the normal (intensity) and roughness (intensity and contrast), which can all be switched on/off for efficiency.
Then I added the option to layer a tileable detail texture on top of the unique texture provided with the asset, to deal with the issue of texel density variations between Megascans assets. This gave the option to add more detail in both base color, normal and roughness. And in case of the rock formation the blending with the landscape improved at the same time by choosing the same ‘mossy rocky ground’ texture for the detail and (a color corrected version) for the top landscape material layer.
Another feature I implemented to improve the blending with the landscape, is the option to add an upward blend texture that adds another layer of tileable detail (independent of asset scaling) that only appears on upward facing areas (whos size can be controlled with contrast and intensity parameters). And in case of the rock formation the blending with the landscape was improved again by choosing the same ‘forest floor’ texture for the upward blending as I used for the base landscape material layer. And as a bonus an extra layer of interest was added on the rock formation as well.
Detail Master Material
Upward Blend Material Function
For the landscape, I started by creating a layered material with the basic features for color correction (saturation, brightness, tint and contrast), adjusting the normal (intensity) and roughness (intensity and contrast), and added parameters to control the material blend (intensity, contrast) and displacement blending (contrast) between layers.
For the base layer I then chose the same ‘forest floor’ texture as I used for upward blending on the rock formation material instance, which improved their blending significantly. But what improved their blending even more, is using the same (but color corrected version of the) ‘mossy rocky ground’ texture for the top layer as I used for the detail texture on the rock formation material instance, and painting that into the landscape where the rock formation intersects with the landscape. The middle two layers were filled with two variations of another ‘mossy rocky ground’ texture with more small rocks to blend well with the stacked Nanite assets shaping the ground closer to camera.
Another feature I added to prevent noticeable repeating textures in the distance (especially for the middle two landscape layers with more small rocks), is the option to do a distance blending between a far and close tiling of the same texture. This can be controlled with different tiling parameters, a fade length and offset, and works really well.
An important issue in the transition to Unreal 5 is that the ‘old’ way of rendering displacement doesn’t work in Unreal 5 anymore. The current way of dealing with displacement is either by transforming the height- or displacement map into Nanite geometry, or by setting up a Virtual Heightfield Mesh using Runtime Virtual Textures. I managed to get this last approach working, but didn’t like the detail and quality of the result at this point, so I decided to finish this project with the landscape itself (without displacement) and increase the illusion of height by adding various rocks across the landscape (matching with the ones in the textures used for the middle two landscape material layers).
Landscape Master Material
Landscape Layer Material Function
After all material refinements and blends, the individual material input buffers for the entire scene look like this:
Buffer Visualization
LIGHTING
Lighting is what really makes a scene come to life in the end, and being able to see the results of every change in real-time is so great!
For the ‘day-time’ lighting I mainly used a Directional Light for the sun and a SkyLight for the bounce light, while having a PostProcessVolume active to eliminate unwanted effects like too much exposure compensation. Additionally I experimented with the SkyAtmosphere actor with Volumetric Clouds and the ExponentialHeightFog to add depth and create subtle god-rays. As a final refinement to the scene build, I moved around and scaled some trees to control the shadowed areas and the shape of the god-rays.
For the ‘night-time’ lighting I created a separate ‘lighting level’ so I could easily switch between day and night. I replaced the SkyAtmosphere actor and Volumetric Clouds by the old fashioned Sky Sphere Blueprint actor to create a starry night sky. Then I rebranded the Directional Light to a moon and also changed the color and lighting direction. I kept the SkyLight and PostProcessVolume but refined the parameters a bit. Finally I added some fill lights to add some rims and lift some of the dark areas, and added a cave light to add some mystery to the scene.
Detail LIghting ‘day-time’
Detail Lighting ‘night time’
A big thing I haven’t payed attention to in this scene is optimization, since my main goal was the visual outcome. But with so many Nanite assets with 8K textures and all LODs and textures set to maximum quality, Screen Percentage set to 100% and Engine Scalability Settings all set on Epic (and some on Cinematic), I’m amazed that I was still able to get a rendering speed of about 12fps.
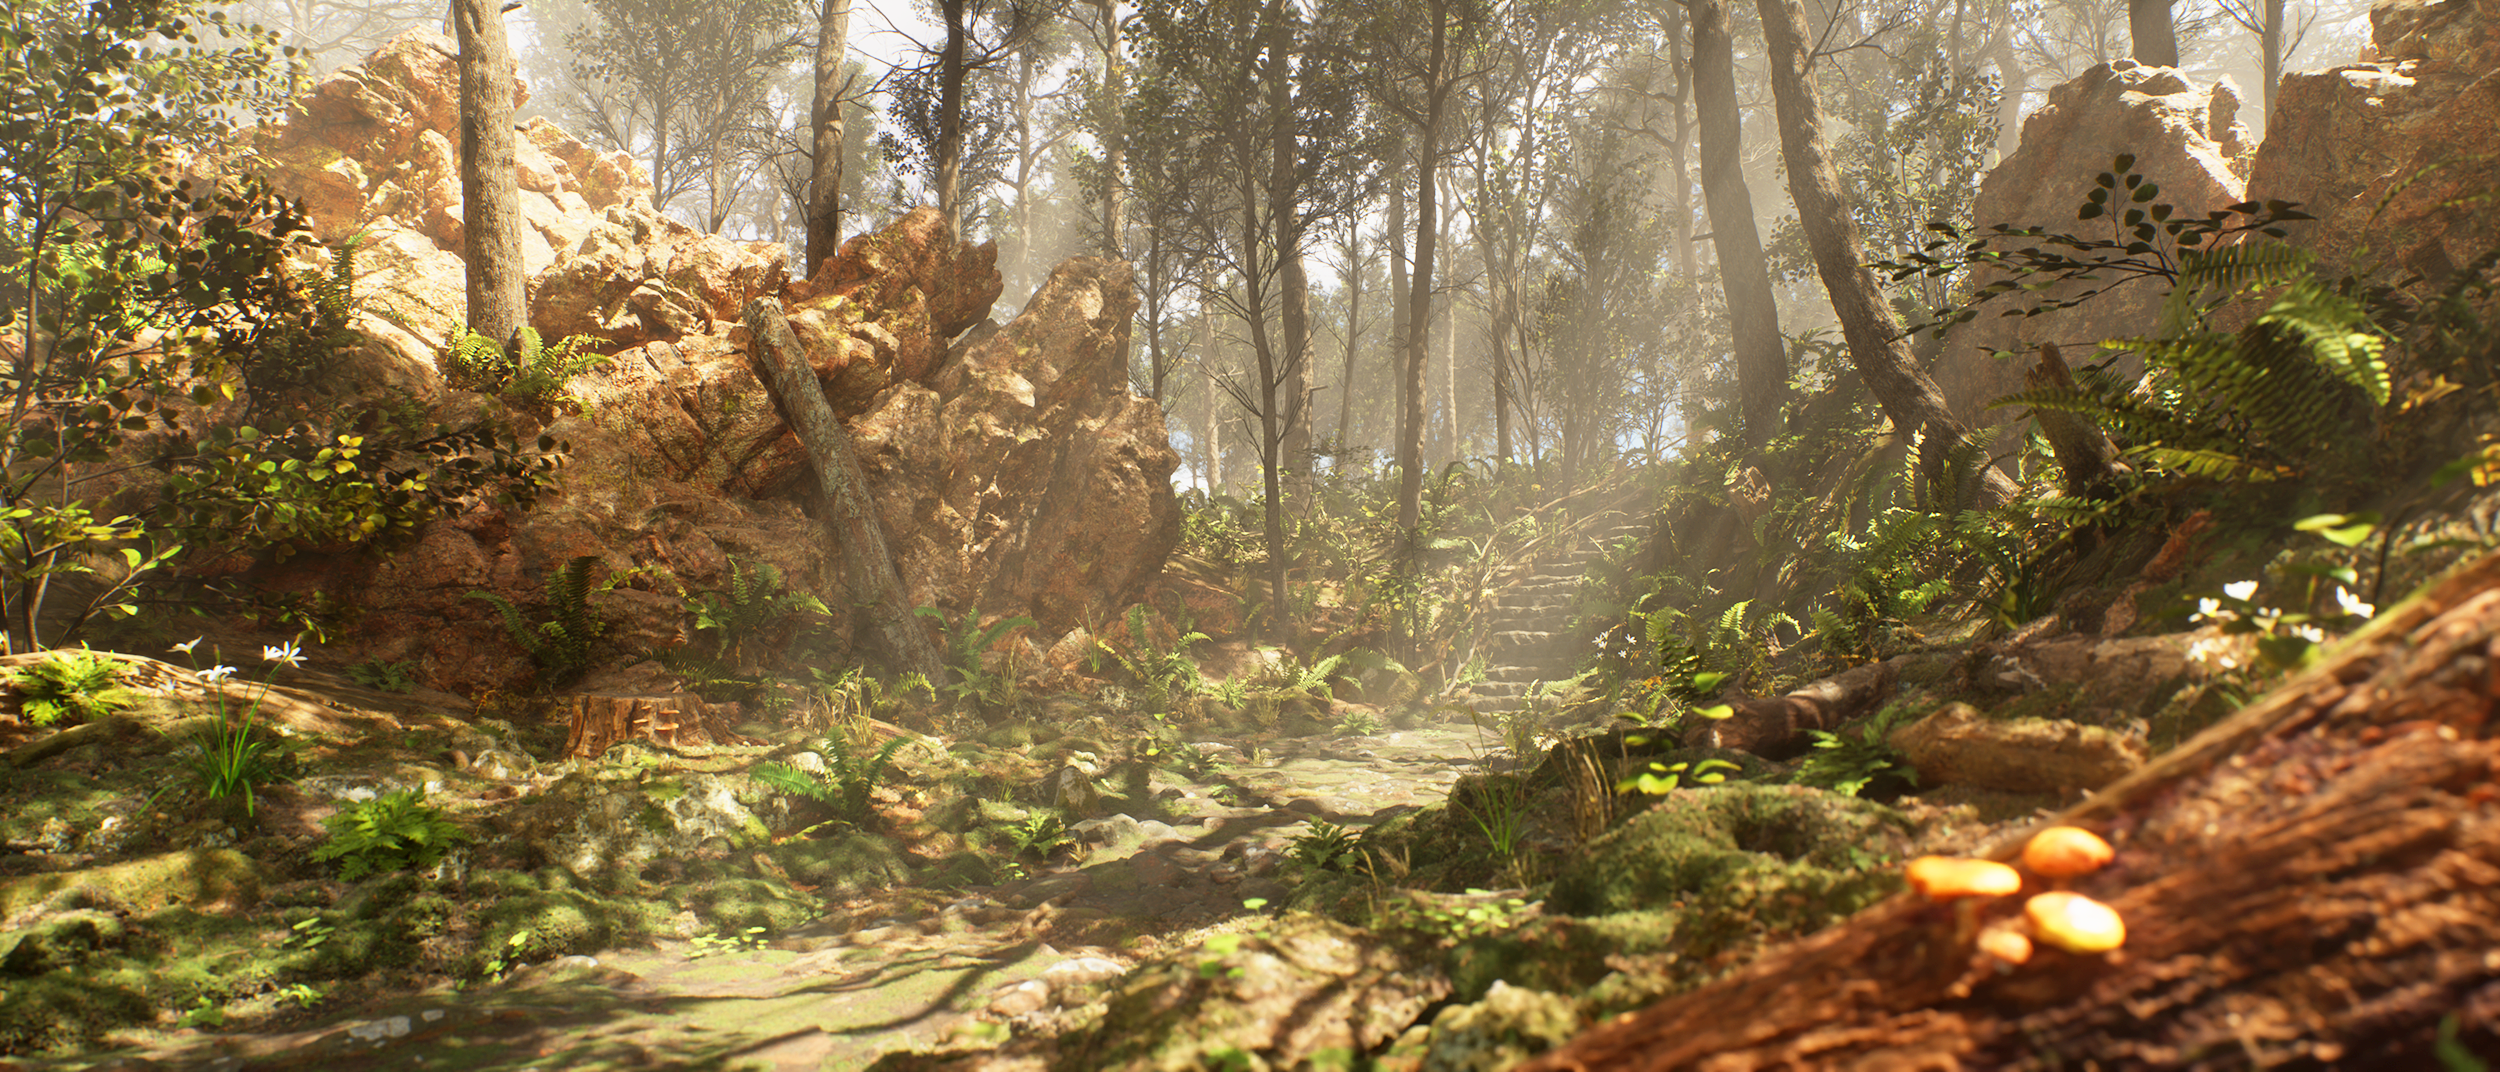
Final ‘day-time’ render
Final ‘night-time’ render